Hello Blogland, yes, it's been a while since I've been here. Instagram has been so addicting and this poor blog has suffered. But not anymore!
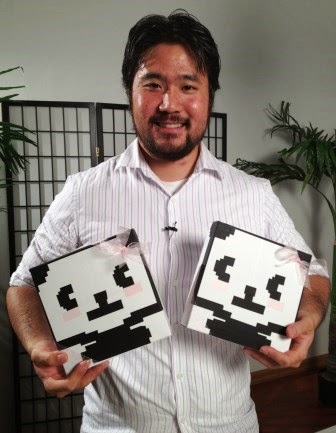
Last Saturday, I was at the Mapunapuna BFC store event, the Mustache Party. I didn't really have a mustache theme project so mine was just called "My Paper 'stache" So, I did a free make and take of a cute little box using my paper 'stache and the WeR envelope Punch Board. I Instagrammed quick how-tos, and shared it on Facebook and Twitter. But then I thought about it....
Blogging is the best way to show how-tos if it's not in a video. So, here goes...
Start with a 6"x6" card stock. Great! That means you can make 4 boxes from a 12"x12" Very economical and you can use your paper 'stache.
Place the left edge of the card stock on the WeR Envelope Punch Board at the 2 and punch and score.
Slide it over to the 4.
Punch and score.
Now , repeat on all 4 sides. Repeat after me "Punch and score at the 2 and 4!" That was my mantra all day last Saturday.
Turn the punch board around and insert each corner point into the punch to round each of the 4 points.
Take a 1/4" hole punch and punch near the tip of each point
Fold along each of the creased lines. Snip at four corners to the first creased line to make tabs.
Place double stick tape on all 4 tabs.
Fold up into the box shape and tape the tabs in place.Place your treats inside. It can actually fit a nice size treat or a handful of candy.
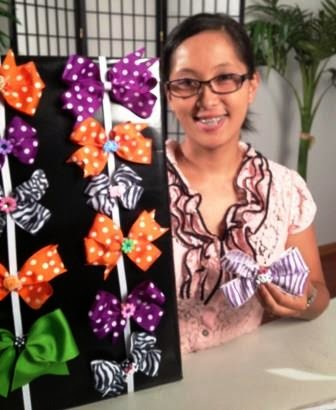
Take some ribbon and feed through the holes as shown: Start from the hole on the right, thread the ribbon from the outside to the inside.Come back out and thread the ribbon through the top hole from the outside to the inside. Come back out and thread the ribbon through the bottom hole from the outside to the inside. Now, thread the ribbon through the last hole on the left, from the inside to the outside. The ends of the ribbons should be coming out from opposite ends, right and left. When you pull the ribbon ends, the top/bottom flaps should fold in and the side flaps with the ribbons coming out can be cinched up.
Tie into a bow to finish.
So, thank you for stopping by and Happy 4th of July!


